In today’s information age, as well as after the pandemic era, video can be the fastest and most efficient way to share information. Moreover, you don’t have to be a one-of-a-kind editor or buy serious hardware to release a useful video tutorial. Everyone can do a high-quality educational video. And today, we will tell you how.
What educational videos are there?
There are four main types of educational videos:
- Talking head video. These are videos in which a person sits in front of the camera and reads a text.
- Video tutorial. This is a tutorial video that might look like a TV show. There is extensive video footage here as well as well-thought-out drama.
- Film lecture. This is a video that looks like a traditional lecture in an educational institution. But it has one major difference. It contains infographics to help students better absorb the material.
- Screencast. This is a recording of what is happening on the screen. During the recording, a voiceover will comment on what is being broadcast in the video. This genre is well suited if you need to teach viewers how to use a program. And what’s amazing about this type, you don’t need some extraordinary tools. Just your charismatic voice and screen capturing software for Windows or screen recorder for Mac.
Each of these four types of the video differs in terms of use, duration, and characteristics. However, they have one thing in common: they should have a gimmick that can hook. So how can you make an educational video that your students will love?
#1. Define your target audience
People tend to have a vague idea of the target audience. Many people say about it like this: “Well … the target audience is everyone who needs to learn a language. These are all people.”
Even if you are filming a video lesson, not for a wide audience but, for example, for students, it is important to determine the target audience. This will help you better “aim” and make the video as useful as possible. You can understand who your viewer is by answering the simple question, “How well do viewers understand the subject?”
There is always a lot of general information, digressions and explanations in a lecture for beginners. The advanced students who delved into higher education will not learn anything new. They will be interested in a lecture that will immerse them deeper into the subject.
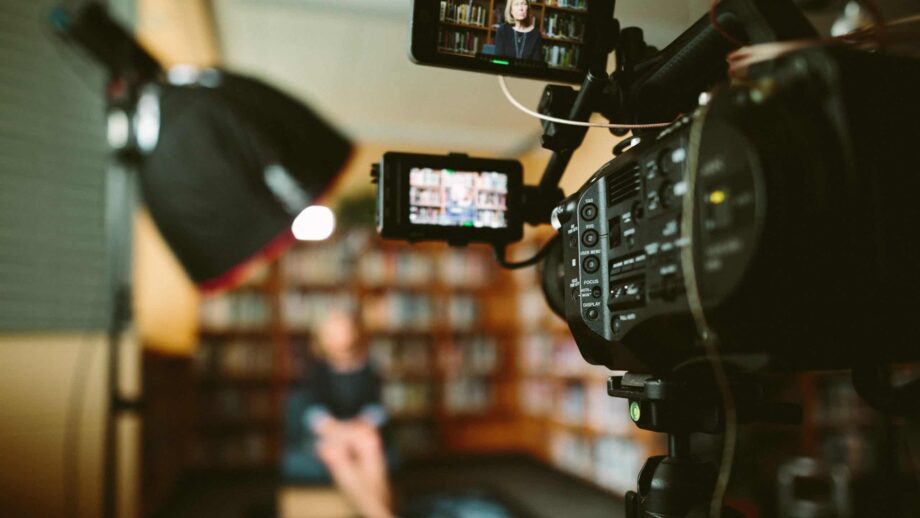
#2. Match your camera and microphone
Five years ago, anyone could upload a tutorial shot on a mobile phone to YouTube and collect thousands of views.
Today, students who constantly live on social media are stricter about the quality of sound and pictures. Some people fundamentally don’t watch videos in lower HD quality. So a good camera for recording training videos is a must-have.
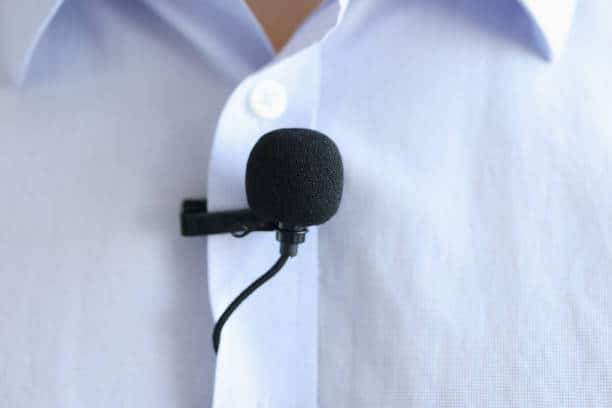
Also, pick up a microphone. It is better to reject a hand microphone right away. Due to its overall dimensions, it distracts attention from the presenter. Plus, you will have one hand busy. This is inconvenient if there is an action in the frame – for example, you are experimenting or explaining something on the board.
The best microphone for filming a video is small and discreet. Three types of microphones are suitable for video tutorials:
- A lavalier microphone is a small and lightweight microphone that attaches to clothing. Due to its diminutive size, it is almost invisible and doesn’t interfere with the presenter. A person can calmly walk on the set, gesture, pick up objects.
- Head microphone – a budget option, it is a regular headphone with a headset. Professional speakers use models without headphones.
- On-camera microphone or “gun” – a device that is attached to a video or photo camera. It catches sounds strictly in front of itself, filtering what sounds on the sides.

#3. Find the right software
A screen recorder app and webcam recorder are the first things that come to mind when thinking about the creation of an educational video. You will find many options on the web.
But don’t forget that the tutorial video isn’t just a raw recording. The video should be properly processed: remove all unnecessary pauses, speed up protracted moments, or, on the contrary, add slow motion where college students should dwell in more detail.
You can also include animation, bright fonts, and other catchy details. All this can be done in WeVideo, DaVinci Resolve, or any free video editor that you’ll face on the Internet.
#4. Give up colorful clothes
When choosing clothes, the main thing is that it looks neat and complement the artistic image. So, a lecturer giving a course on economics is unlikely to inspire confidence in a biker outfit.
Due to an incorrectly selected suit, difficulties will arise of a purely technical nature.
During filming, it is better to refuse:
- Checked things – they will ripple on the screen.
- Colorful suits – loud colors hurt the eye.
- Outfits, the color of which matches the background color – you run the risk of “dissolving” into the frame.
#5. Keep track of your speech rate
Speech rate affects interaction with instructional video. Student interaction with instructional videos was found to be higher for videos where teachers used a high speech rate. The authors refer to the 1967 recommendations, which indicated the optimal rate of speech at 160 words per minute. While these guidelines apply to traditional lectures, they can be applied to educational videos as well.
#6. Follow the checklist
- Before you start filming, write a script. It will help structure the presentation, concentrate the essence and cut off unnecessary things.
- Ideally, the location should be 100% suitable for the topic of the video tutorial.
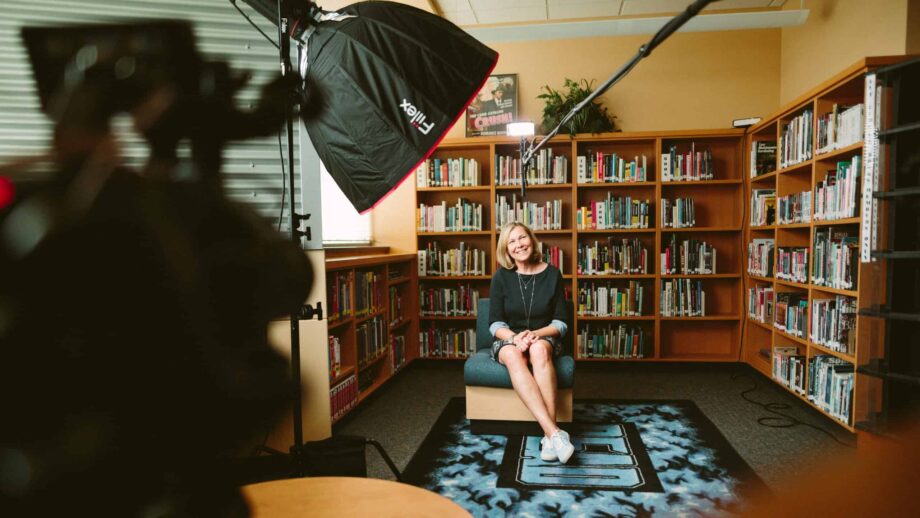
- Poor lighting is the worst enemy of a good shot. To make the picture clear and bright, you need three lamps.
- To make it easier to record, divide your performance into short takes.
- Social media has taught a person to short informational portions. Therefore, the ideal duration of a video lesson is 7 minutes.

Final say
Teaching content in video format is a cool and working tool in traditional education and remote learning. Use six easy steps to create a video to make tens, hundreds of thousands, or even millions of students fall in love with you and your content. Just imagine how many of these people you can convert into real geniuses.