Are you sceptical about your web browser that what type of data it collects from you? Let’s build our Browser and get every detail of everything that we share with the world with our Browser. The best part is that you are going to design that according to your taste. Excited?
But, Hey, Chill. You don’t have to be a programmer for that. Of course, you have to deal with the code in the process, but that will be your very little interaction with the code, and this guide will help you out for that. We will use Visual Studio for building our own Web browser.
Prerequisites
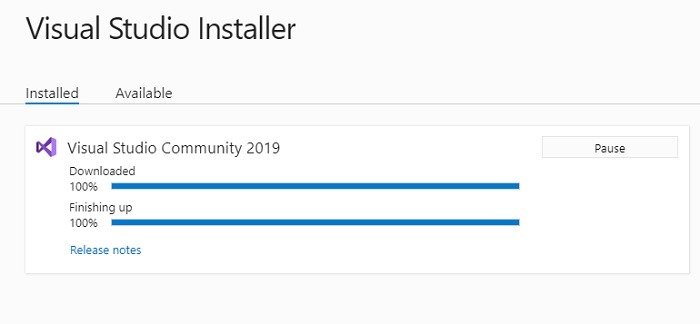
As mentioned above, you need Visual Studio. Just install in your computer, and you are good to go.

But keep in mind that you have to install the Community version of visual studio. Once you have installed the package, you are all set to create your web browser.
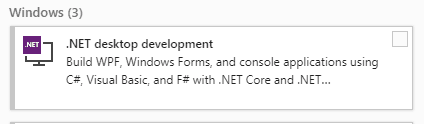
The newer version of Visual studio installer asks you about the components that you want to install. Under the Windows tab, select the first option that is .Net desktop development and wait for it to download and install.
Once the needed package is installed, it’s time to start building our new web browser.
Procedure to Create Your Browser Application
- Create a New Project
- Editing Properties
- Parent Container
- Creating Browser Menu
- Addition Features
- Save the Project & Run it
1. Create a New Project

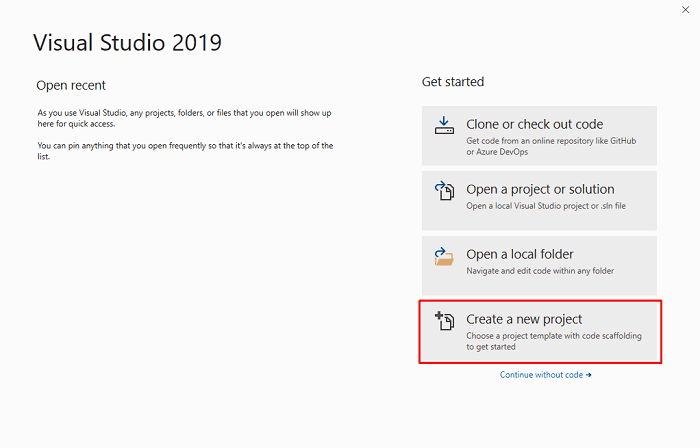
- First of all, go for a new project, click on the Create New project.

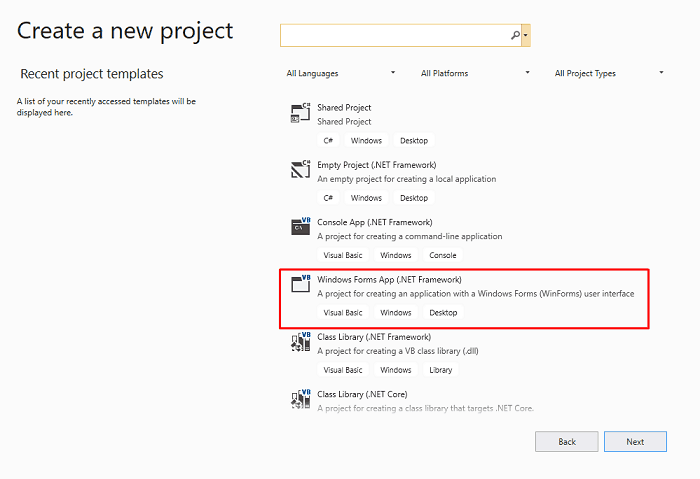
- and select Windows Form Apps.

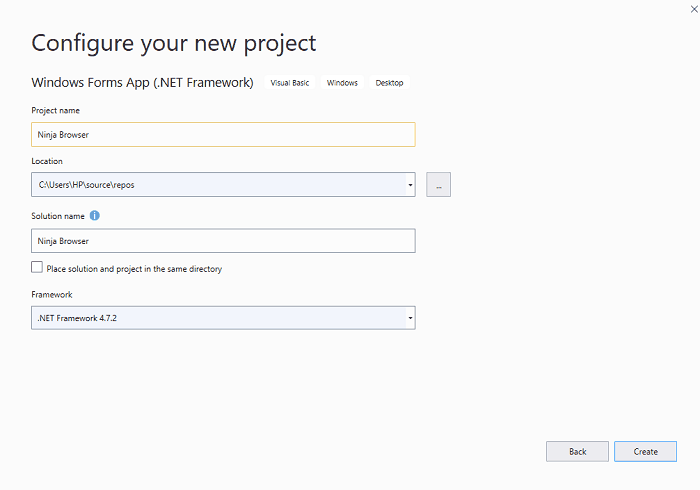
- A new window will open with the headline “Configure your new Project.”

- Just give a name to your Browser like I named my browser “Ninja Browser”.
- Now, wait for a while for the visual studio engine to create Ninja Browser interference for you to start building your web browser.
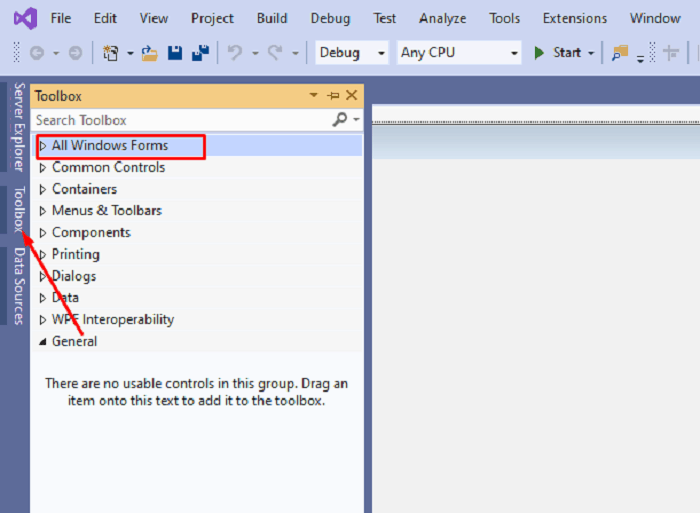
- Now you will see a blank panel read to be crafted by you.
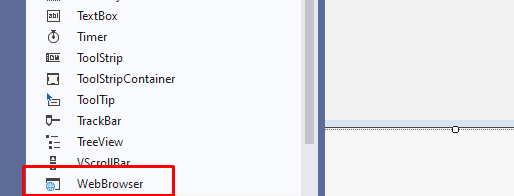
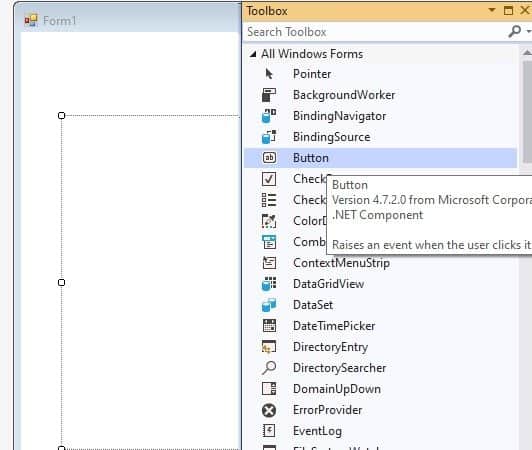
- Click on the ToolBox, you can find that in the sidebar and then click on All windows forms as shown in the picture below.

- In the drop-down menu, scroll down and look for Web Browser and double click on that.

2. Editing Properties
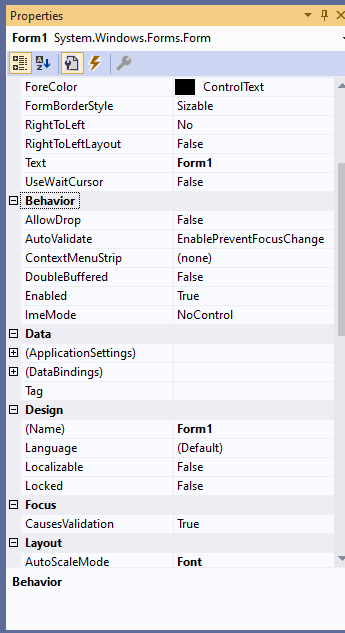
Here you have to put some creativity and set some commands to your new Browser. Here is what you can do while editing in the properties.
- Margins and sizes of browser windows.
- Enable or disable scroll bars. Just double click the scroll property to make it false, if you don’t want to scroll in your new Browser. (No one will use your non-scrolling browser bud).
- Manage the layout of your new Browser.
-
3. Parent Container
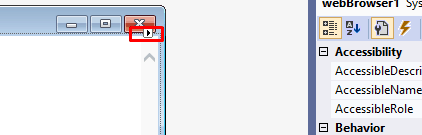
This is a little bit tricky to be found. But this is an important thing that you have to do.
- Near the close Button of the inner window, you can see a small arrow, click that, and you can see an option.

- Now click on Undock in Patent Container.

- By undocking, you can resize the windows of your new Browser. Set the size and save your application.

4. Creating Browser Menu
It is simple; as you know, the Browser has an uncomplicated menu with very few items. You have to add the items from ToolBox. Follow the steps to add items in your Browser’s menu.
- Click on the ToolBox, you better know where it is as we used it to define our projects as a Web Browser.
- Now search for Button in the ToolBox. Click on that, drag and drop in your Browser’s window.

- You can add as many buttons as you want, but keep in mind that for what purpose you are going to use those buttons.
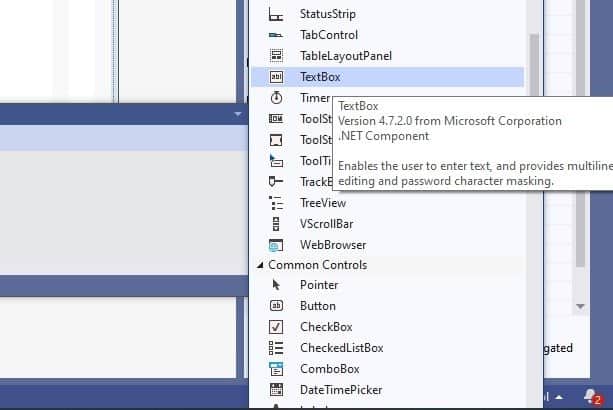
- Your Browser is missing something, Where to put the URL man? Let’s add a text box for that. You can find the Text box in the Toolbox. Drag and drop to the area where you want to put the search bar.

- You can change the properties of the buttons, like color, size, margin, etc.
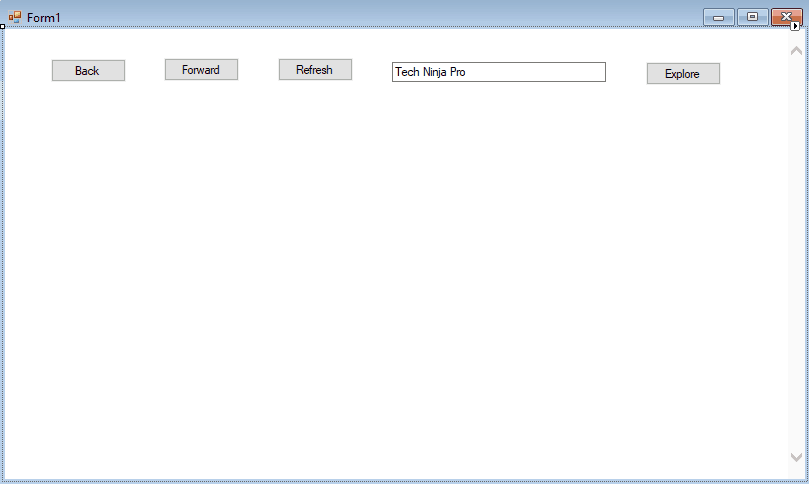
- It’s time to name the buttons and assign them their functions, like back, forward, and refresh.
- Click on the buttons one by one and in the sidebar rename the buttons.
- Give some attention to this part as we are going to put some code in our Browser.
- Double Click on the Back Button, and place WebBrowser1.GoBack() as shown in the image below.

- Now click on the Forward Button and put WebBrowser1.GoForward() as shown in the image below.

- Now click on the Refresh Button and put WebBrowser1.Refresh() as shown in the image below.

- Leave the text box, and you don’t have to put code in the text box.

- Now click on the Explore Button and put WebBrowser1.Navigate(TextBox1.Text), which means to go for the URL pasted in the text box. It looks like this.


Your Browser with the menu is ready to use.
5. Addition Features
You can add some additional features like a horizontal bar, colors and feel — background color and transitions while browsing.
To add the additional features, click on Tool Box and add the objects. Spend some time playing with the Visual studio, and you will end up making a very fancy and very private browser of your own.
6. Save the Project & Run it
Press Ctrl+S to save the Browser project and now it’s time to check this and debug if there is an error in the Browser.
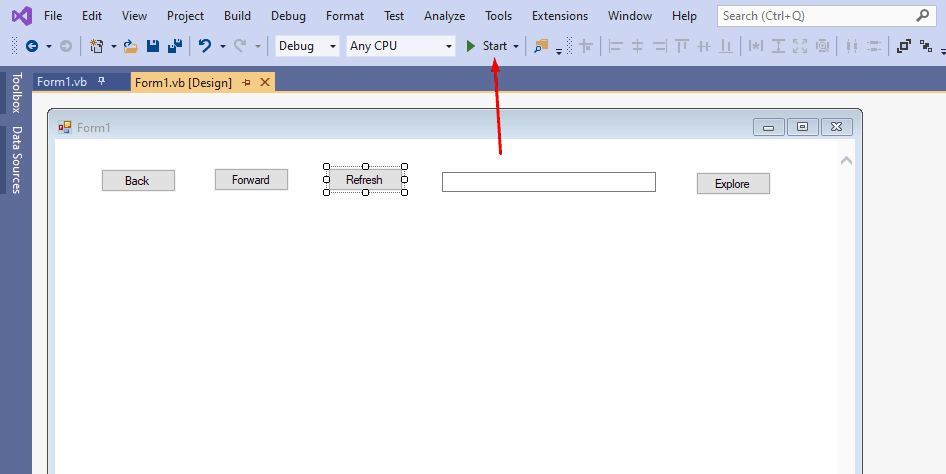
- Click on the Start button with a green play button to run the Browser within the Visual Studio.

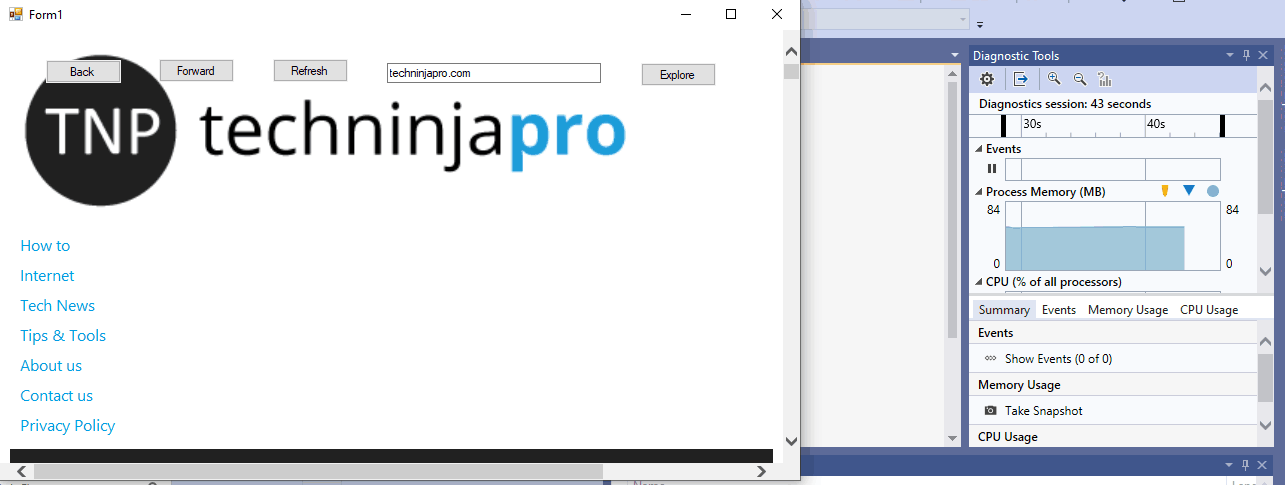
- Now put the URL in the text box and hit Explore.
- Yippee, here we go, your first Browser is ready you create that.

- Now save the project as .csproj so you can later use it as a browser.
- You can change the icon of the saved project in the Windows personalization settings.
Summary
If you want to use a very own and private Browser of your own, you can create it in just 5 minutes. Using a trendy visual studio, you can make a simple browser and can modify that according to your taste. Do you like this quick tutorial? Tell us in the comments. Don’t forget to subscribe to your Newsletter.