One of the significant issues that slow down your computer is the “Windows Audio Device Graph Isolation High CPU usage.” It slows your computer down and can turn out to be harmful later on for your setup.
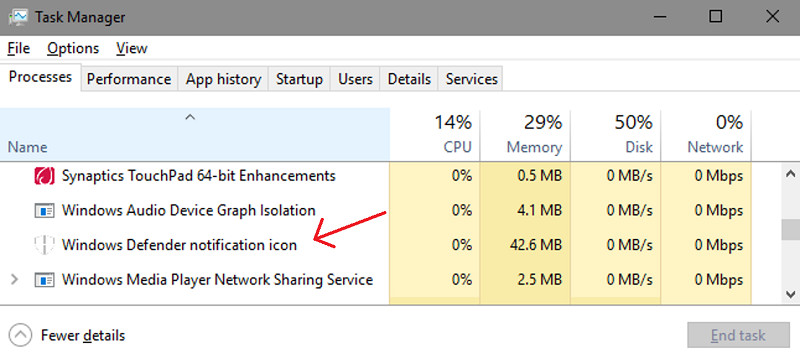
Windows Audio Device Graph Isolation High CPU usage can damage your processor. This can mainly be tracked down by keeping a check in the Task Manager. There, you will see what percentage of CPU is getting used by Windows Audio Device Graph Isolation.
Here are a few quick fixes you can do if your CPU usage is high due to Windows Audio Device Graph Isolation.
What is Windows Audio Device Graph Isolation?
It is a part of Windows Audio Engine, often shown as AudioDG.exe. It makes sure that the third-party applications can run sound on your computer.
This Windows Audio Engine allows the third parties to create audios with special effects without messing around with the Windows Audio. Windows Audio Device Graph Isolation is also known as digital signal processing.
Having Windows Audio Engine enables sound-cards makers to install more features in their products to offer a dynamic range of sound effects.
The users of Windows are given the liberty to customize their computers’ output sound based upon what they want to hear and how they want to listen to it.
Windows Audio Device Graph Isolation is a part of Windows Operating System as an import part.
Why does Windows Audio Device Graph Isolation show high CPU usage?
Several factors can be based upon which Why does Windows Audio Device Graph Isolation show high CPU usage?
1. Disable Sound Effects
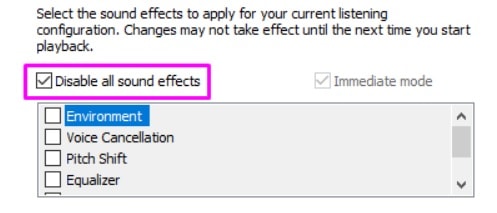
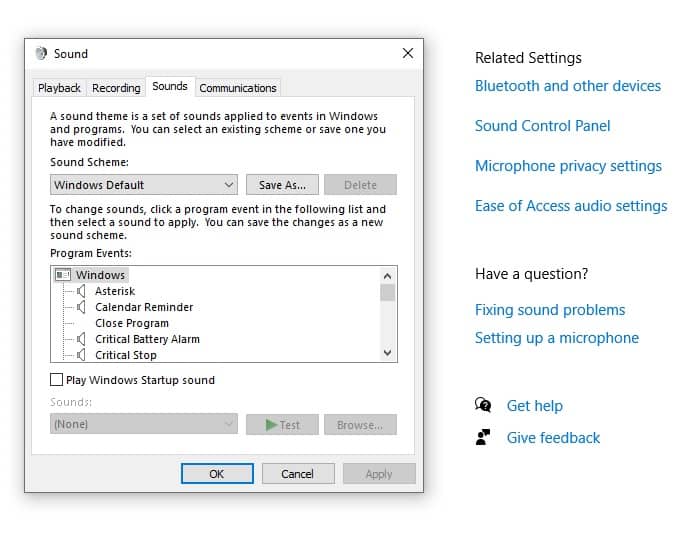
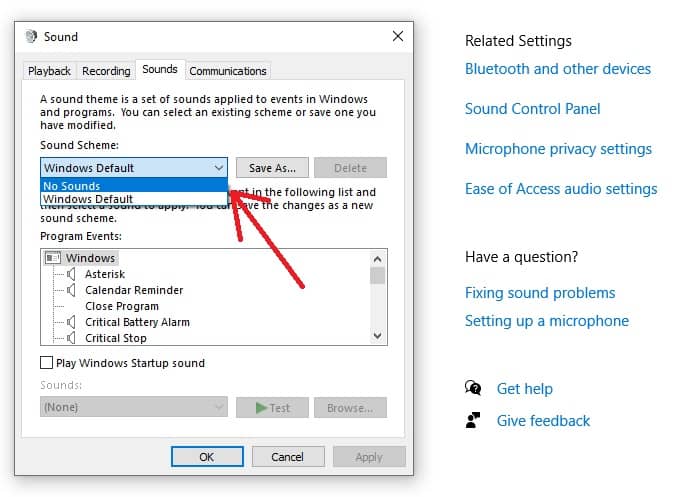
The Windows Audio Device Graph Isolation involvement in the Windows Audio Engine is heavily invested in the unique sound effects. This can be a reason for the high CPU usage, and thus, by disabling the sound effects, your problem might get resolved.
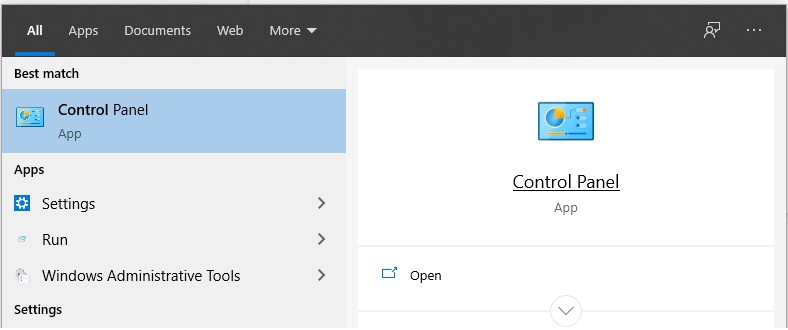
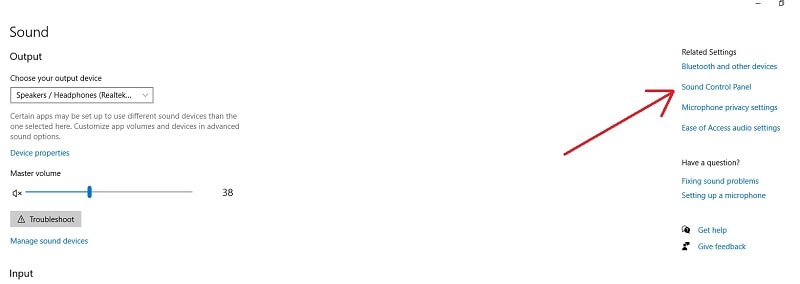
- Open your Control Panel.

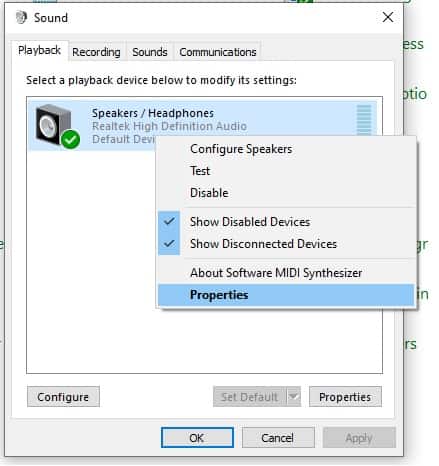

Another direction that many Windows Users go for when applying the “Disable Sound Effects” solution for Windows Audio Device Graph Isolation causing high CPU usage is:
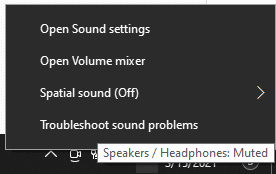
- Locate the speaker icon on your Taskbar.

This fix of Windows Audio Device Graph Isolation will bring back your CPU usage to regular, low, or in some cases to very low.
2. Fixing of Audio Drivers
Outdated Audio Drivers can cause a mess in your Windows Audio Engine’s operating system. These drivers must be regularly updated, and every Windows user should keep an eye on it if the CPU usage by Windows Audio Device Graph Isolation gets higher.
Under normal circumstances, the CPU usage of Windows Audio Device Graph Isolation should show almost or near to 2% of CPU usage. If that percentage varies and goes higher, then maybe your Audio Drivers are Outdated or have gone Corrupt.
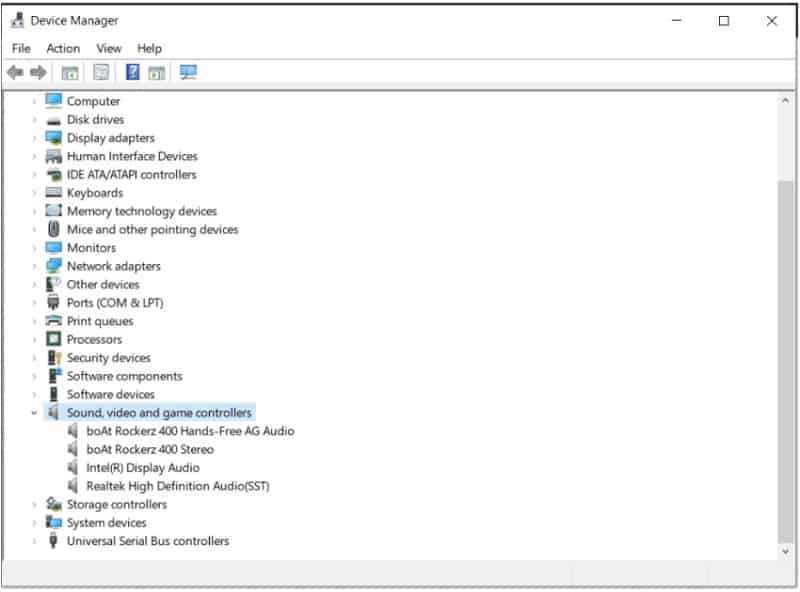
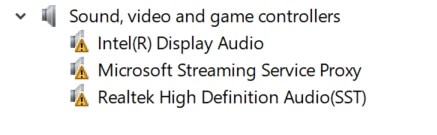
Checking if your Audio Drivers are Corrupted or Outdated
To check whether your Audio Drivers are Corrupted or Out of date, follow the below-mentioned guidelines:
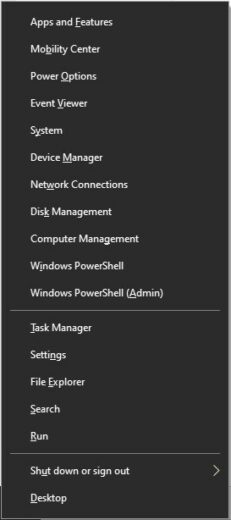
- Hold down the Windows Start Button and press ‘x’ with it.
Updating Audio Drivers
You can update your Windows Audio Drivers in two ways:
- Fix 1: Update Audio Drivers from within Windows
- Fix 2: Update Audio Drivers via Third-Party Application
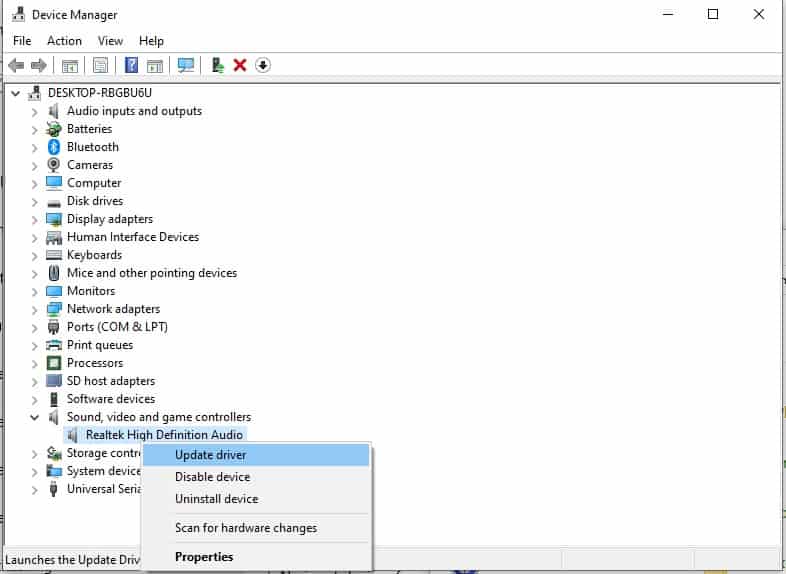
Fix 1: Update Audio Drivers from within Windows
You can use Integrated Device Manager to search for a new and updated driver. To do this, follow the below-mentioned steps:
- Open the Run application by pressing and holding down the Windows Key + R
- Open up the Device Manager by typing devmgmt.msc and hitting OK.


Fix 2: Update Audio Drivers via Third-Party Application
There are many third-party updater tools available in the market for updating your Drivers. One of the most downloaded and used ones are:
- DriverHub
- DriverPack Solution
- Driver Booster
This fix may come with some strings attached to it. Some of this driver updating software contains malware, viruses, spyware, or adware. This will cause and add problems to your PC instead of fixing it. So, be careful before you download a third-party application for the issue of Windows Audio Device Graph Isolation high CPU usage.
3. Scan for Viruses and Malware
In some cases, Windows Audio Device Graph Isolation with high CPU usage can dominate and weigh upon your computer’s processor very heavily.
When this happens, there is a possibility that your computer may be infected with malware. In this case, instead of taking the troubleshooting road, you should administer a full scan of your operating system.
Third-Party Antivirus Tools

To scan for viruses or malware, you can take the services of any third-party antivirus tool. We recommend using Avira Free Security for Windows: this tool is free and can detect dangerous threats and have the ability to eliminate them quickly and effectively.
This tool also can work (as a partner) with your already installed security solution, adding an extra layer of protection.
Windows Defender
Windows Defender is the built-in Windows Security Suite that you can also use. It can defend your PC’s processor from external threats and malware.
Here is how you can use it:
Windows 10:
- From the start menu, click on the settings gear, and the settings window will open.
- Type Update and Security in the search bar.
- Locate the Windows Defender. Click & open it.
- Find the Windows Defender Security Centre Window, locate the shield icon (it is in the left pane).
- Find Advanced Scan and click on it.
- Select Full Scan.
Windows 8 or 8.1:
- Open the start menu and type Windows Defender in the search bar.
- Click on Update in the Windows Defender Home Window.
- Go to Home and then Go to the Scan option.
- Check the Full option and Scan now.
Windows 7:
- Give the command of Windows Logo + S
- Type Defender in the search box
- Locate the Windows Defender from the list results
- The Windows Defender home window will open. Go to Scan
- Navigate to the arrow next to Scan and click on the icon
- Select Full Scan.
If the threat shown shows that Windows Audio Device Graph Isolation is a cover-up for some malware activity and danger, then you can eliminate the threat later on.
Skype Solution
As Skype is used daily by some users online, it has access to your computer’s mic and speakers/headphones, so Windows Audio Device Graph Isolation high memory issues may be caused by Skype.
Uninstalling and reinstalling Skype may be able to fix the issue.
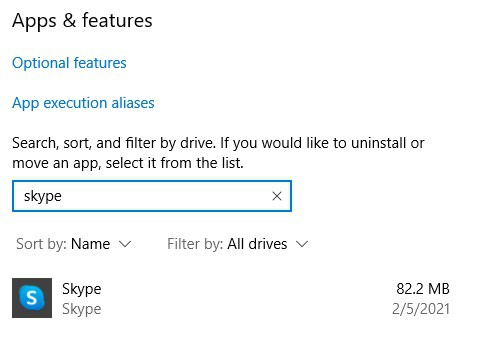
Uninstall Skype
Firstly backup your files on Skype, so you don’t lose any of your precious chats, data, and files. Afterward, follow the below steps:
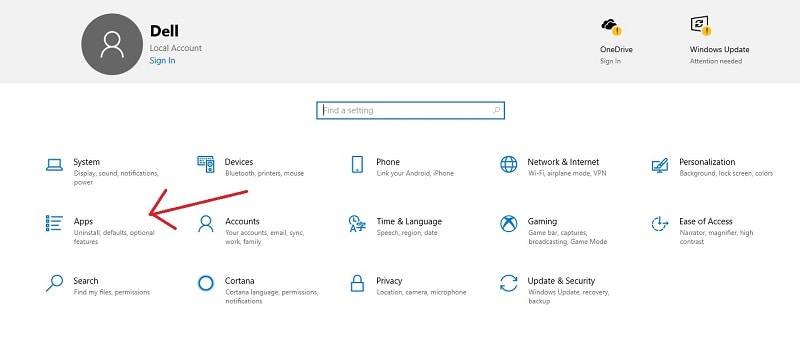
- Open up the Settings App on your PC (press Windows Logo Key + i)

Reinstall Skype
- Go to the Skype download page here
- Browse and select the version compatible with your Windows
- After downloading has been done, go to your Downloads folder and double-click on Skype Installer
- Click on the install button
- The application will launch itself automatically, and you can now login
Restart your computer and check if Windows Audio Service stopping has been resolved or not. Also, check whether the Windows Audio Device Graph Isolation is still using high CPU usage.