
Because of a hardware breakdown, this error (Windows halt code 0x0000124) cannot be repaired or worked around. It is usual for WHEA UNCORRECTABLE ERROR to have various reasons, the majority of which are directly related to the hardware in your machine. A failing hard drive, defective memory, and many other hardware problems can all result in a WHEA uncorrectable error.
In addition to faulty hardware, the WHEA uncorrectable error can occur due to driver conflicts and missing Windows updates that cause hardware to work or not in unexpected ways. In some situations, overclocking can cause this error to appear due to the additional strain overclocking puts on your system.
A number of different hardware faults might cause a WHEA uncorrectable error. In this section, TechNinjaPro will go over some hardware requirements and look at a few possible solutions to the issue.
1. Perform a CHKDSK scan.
First, perform a Windows Check Disk from the Command Prompt before performing any other hardware modifications. CHKDSK is a Windows system program that performs two functions: it verifies the integrity of a file system and fixes problems as they arise.
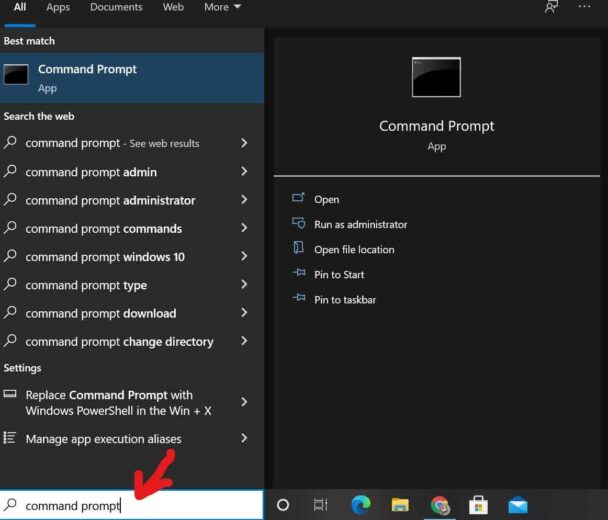
- In your Start menu search box, type command prompt, then right-click the best match and choose Run as administrator. (Alternatively, hold down Windows Key + X and pick Command Prompt (Admin) from the menu.)

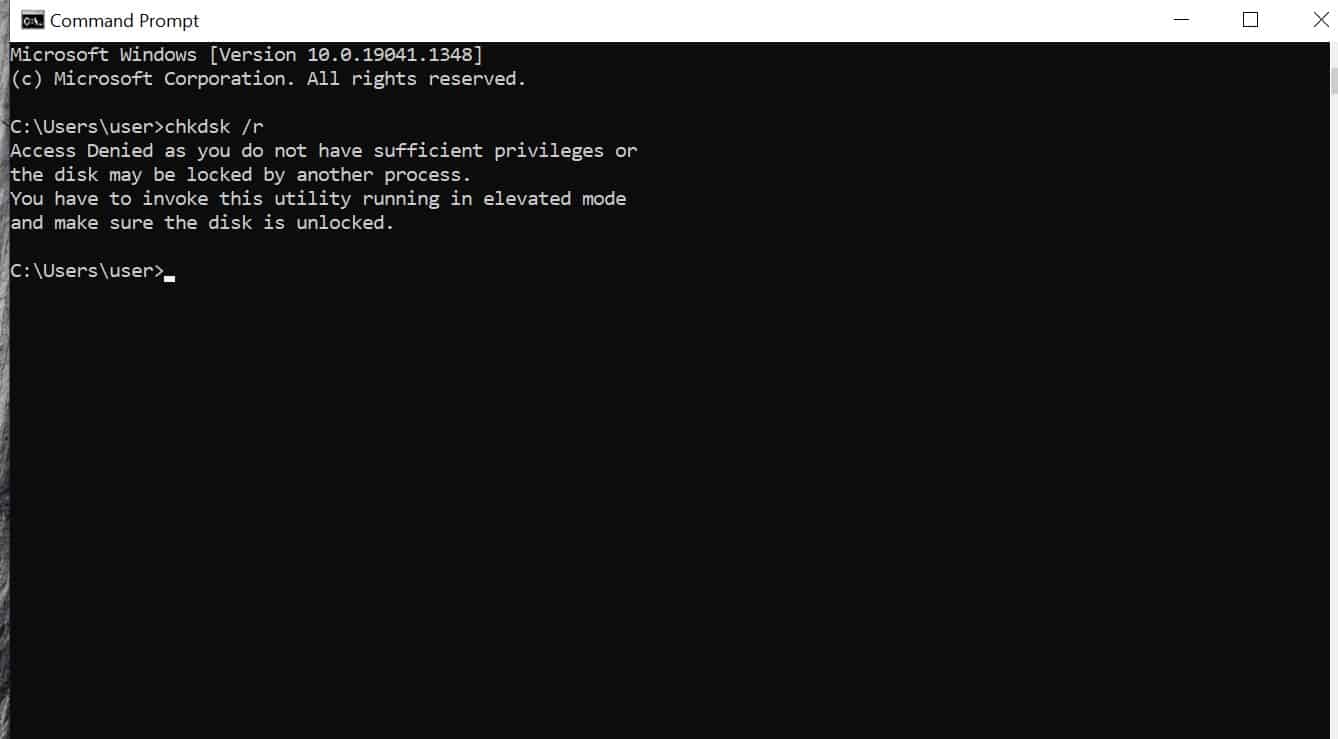
CMD - Then, type chkdsk /r and tap Enter. The command will check your system for flaws and correct any problems it finds.

chkdsk /r
It is quite likely that the WHEA UNCORRECTABLE ERROR is related to the hardware of your computer. Therefore, before performing any system resets or memory checks, you should make sure that your system hardware is in proper working order.
All of your cooling systems should be operational, your RAM should be seated correctly in its slots, and your CPU should not have been jiggled.
2. It is necessary to disable the system’s overclocking settings as the last step.
This error message may appear if you have overclocked your computer to improve its overall performance. Make sure that all overclocking effects are disabled in your system BIOS, and you’ll be finished in no time.
- Navigate to the BIOS or UEFI configuration menu on your computer to do so. Turn off your computer to accomplish this.
- A second time pressing the BIOS/UEFI menu access key will restart your computer, which should be done after the first (common keys include F1, F2, F10, DEL, and ESC).
- The BIOS and UEFI settings differ from manufacturer to manufacturer. However, the menu titles are often the same. You’re looking for a way to overclock your computer. A few of the more popular places to look for overclocking choices include Advanced, Performance, Frequency, and Voltage, just to name a few.
- Reset your overclocking preferences from the settings menu. Resetting your system will restore it to its previous condition, but it may also be able to remove the WHEA UNCORRECTABLE ERROR that you are experiencing.
3. Reset the BIOS/UEFI Configuration Data to its factory defaults.
When all other solutions fail, you can attempt resetting your BIOS to its factory default settings. Under the BIOS menu, you have the option of completely resetting the BIOS or loading the default BIOS configuration. Locate and select the most appropriate choice.
BIOS/UEFI Configuration Data to be updated.
Depending on the motherboard manufacturer, this technique can differ significantly. Some BIOS/UEFI settings can be automatically downloaded and updated using a desktop tool, while others must be manually downloaded. Some manufacturers need you to update the BIOS and flash the firmware by hand, which can be time-consuming.

Any reservations regarding the motherboard you’re currently working with?
CPU-Z is a free program that may be downloaded and used. It is possible to find out your motherboard’s name and model number by selecting the Mainboard tab. You may also lookup the name of your BIOS and the version number of your BIOS in this section.
The Z-axis of the CPU-Mainboard
Using this information, look for the phrase “[your motherboard manufacturer + model] bios update” on the internet. Perhaps you should look for a “Micro-star ms-1796 BIOS upgrade” for your particular system.
4. Verify the validity of your driver’s license.
New drivers may cause problems with your PC from time to time. This is a less common event these days, thanks to the fact that Windows 10 handles most driver upgrades on its own.
Even so, a careless driver can wreak havoc on your computer system. A driver update listing has been added to the Windows Update area in Windows 10, which allows you to identify the cause of the issue almost immediately when it occurs.
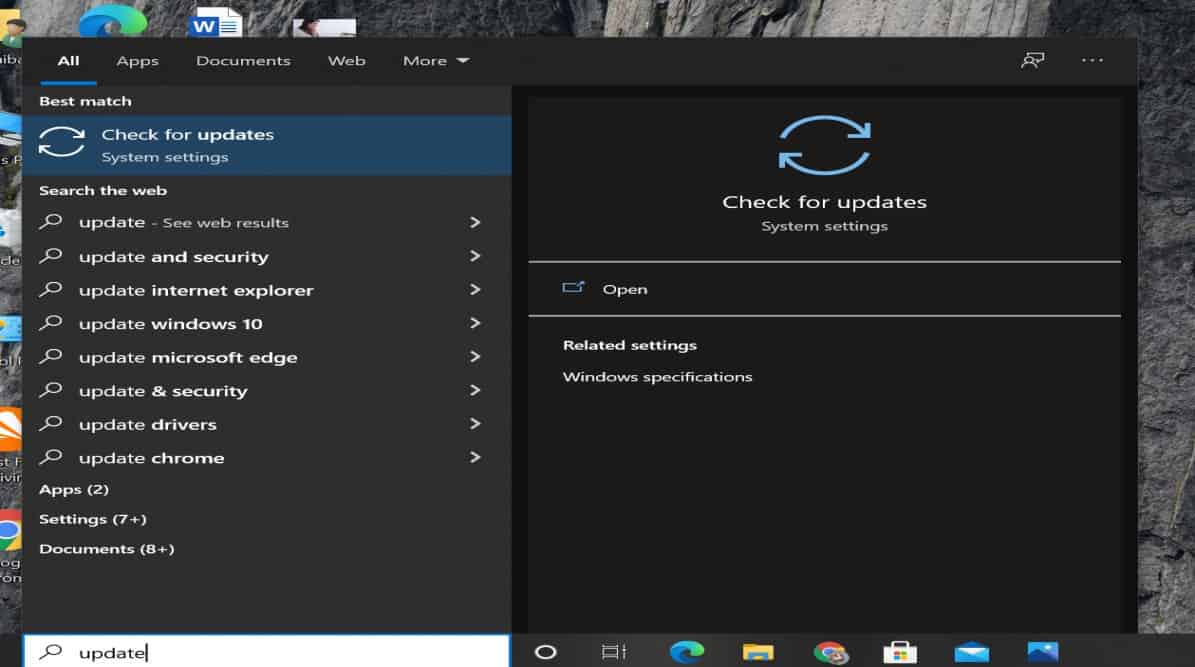
- Select Update & Security from the drop-down menu.
- The update history may be accessed from the Settings panel by pressing the Windows Key + I combination. All the most up-to-date driving information may be accessed in one convenient location.
- Enter device manager in the Start menu search bar and select the Best match option from the drop-down menu that appears.

Check for Updates - The next step is to look for an error symbol that is further down the list on the left-hand side. If there isn’t anything, it is most likely not your driving condition that is at fault.
- The use of third-party software to update all of your system drivers simultaneously is highly recommended.
- The vast majority of Windows issues can be resolved by downloading and installing one of the free programs available on this website. This is accomplished via the first two alternatives, IOBit’s Driver Booster and Snappy Driver Installer.
- Examine your RAM to check if it has been updated recently. Windows Memory Diagnostic is a built-in memory checker that may be used in conjunction with MemTest86 to test a computer’s memory.
- Despite its poor reputation, a second good application, MemTest86, frequently detects problems that this one does not.
- Memory testing tools for x86 computers are available for free through the MemTest86 program, which is a standalone application.
- Launch MemTest86 from a USB flash drive and wait for the results (or bootable disc) to check your system’s RAM. A single pass of MemTest86 can take hours to complete, depending on the amount of RAM installed on the computer.
(Read complete Review of Driver Booster PRO)
5. Make sure to check your Ram by doing MemTest86
It is recommended that you run MemTest86 at least twice to get the most out of the program’s capabilities. According to research, MemTest86 should be able to detect a significant RAM issue very quickly.

- Create a bootable CD image of MemTest86 by downloading the image from the downloads page (ISO format). The next step is to copy the MemTest86 ISO file to a USB flash drive for later use.
- Once your machine has been restarted, launch MemTest86 with your favorite application of choice. Continue to press and hold the Boot Selection Menu button to restart the device (typically F10 or DEL).
- After that, select the bootable MemTest86 USB flash device and restart the computer if needed. The memory test can be begun on its own without the need for human intervention.
- If you’re experiencing RAM issues, check up the error number on the internet to find out what to do next to fix the problem.
If you require assistance converting an ISO image into a bootable USB, the following tools can help you:
Windows 10 Factory Reset
Windows 10 Reset function can be used to restart the system if all else fails. By doing a factory reset on Windows 10, you can completely erase all of your previous system data and start anew.
- Beginning with the option Begin by clicking Reset this PC in Settings > Update and Security > Recovery, select Reset this PC.
- Make a backup of any vital files before clicking on the button, as your system will restart soon after clicking on it. Upon restarting your computer, you will be given the option of either maintaining your current data or deleting them totally.
Error Repair for WHEA Unrecoverable Errors!
The presence of blue screens is a disappointment. And this is especially true if you are unable to determine which piece of hardware is at fault. The WHEA problems can be resolved by following the procedures outlined above; but, tampering with your hardware may result in their reappearance.