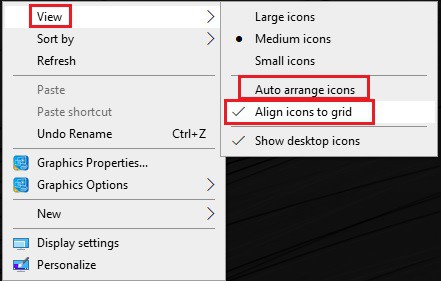
1. Disable Align icons to the grid, and Auto arrange icons
- Right-tick on an empty space on the desktop, select “View,” and uncheck Align icons to the grid.

- If not, from the View option, uncheck Auto arrange icons, and everything will work out.
- Reboot your computer and see if the above settings hold on or automatically change.
2. Change the Icon View
- Right-tick on the desktop, then choose “View,” and change the view from your currently selected view to any other. For example, if “Medium” is currently selected, tick on “Small.”

- Choose the same view which was earlier selected. For example, you would choose Medium again.
- Next, choose “Small” in the View option, and you will immediately see the changes in the icon on the desktop.
- After this, the icon would not rearrange themselves automatically.
3. Delete Icon Cache
- Make sure to save all the work and close all the present apps or folder windows.
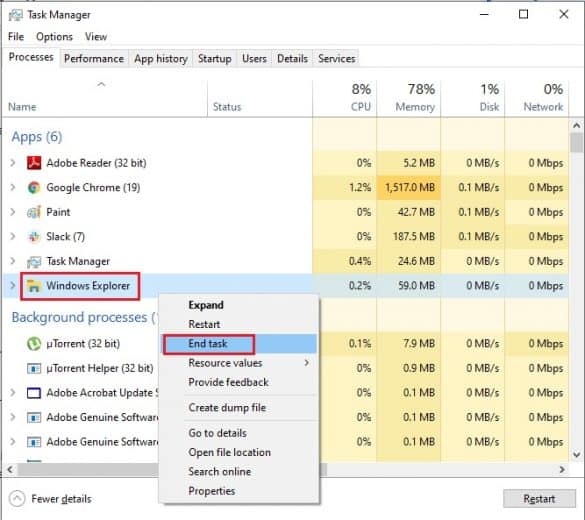
- Press Ctrl + Shift + Esc together to launch the Task Manager.
- Right-tick on Windows Explorer and choose End Task.

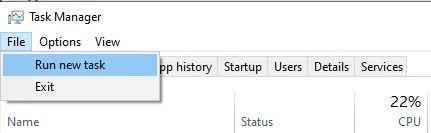
- Tick File and then tick on Run new task.

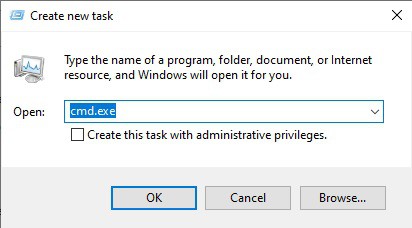
- Type cmd.exe in the field and tick OK.

- Type the following command in CMD and press Enter after each command:
CD /d %userprofile%\Appdata\Local DEL IconCache.db /a EXIT - Once the commands are successfully executed, close the command prompt.
- Now again, open the Task Manager. If you have closed, then tick File > Run new task.
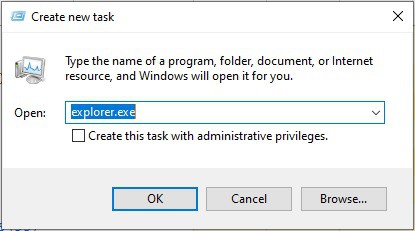
- Type explorer.exe and tick OK. This would restart your Windows Explorer and solve the Desktop Icons Rearranging in Windows 10.

4. Uncheck Allow themes to change desktop icons on Windows 10
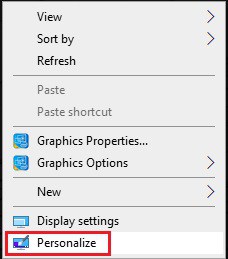
- Right tick on an empty area on the desktop and then select Personalize.

- From the left side menu, choose Themes and then tick Desktop icon settings.

- In the Desktop Icon Settings, uncheck the option “Allow themes to change desktop icons” at the bottom.

- Tick Apply.
- Reboot your computer to save changes and see if you can fix the “Desktop Icon Keep Rearranging issue automatically.”
5. Uninstall Graphic Card Drivers
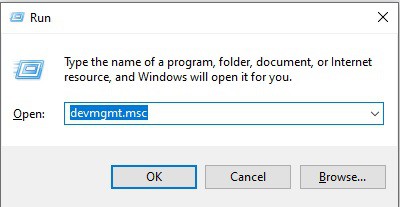
- Press the “Windows + R Key,” then type devmgmt.msc and press Enter to open the device manager.

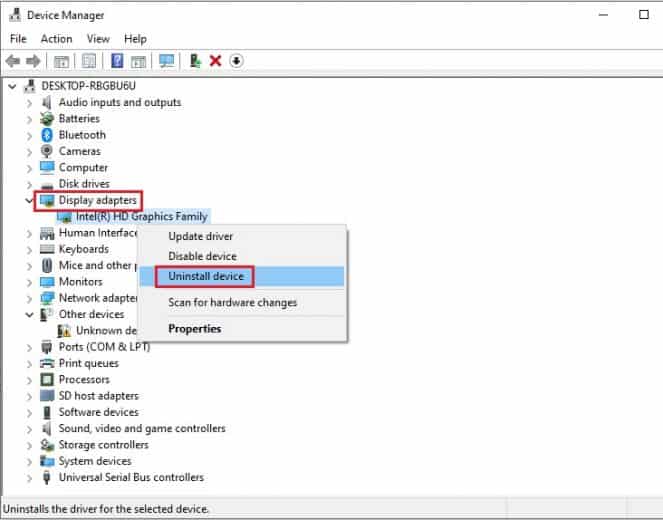
- Expand Display Adapters and then right-tick on your graphic card and choose to uninstall.

- If asked for confirmation, Pick Yes.
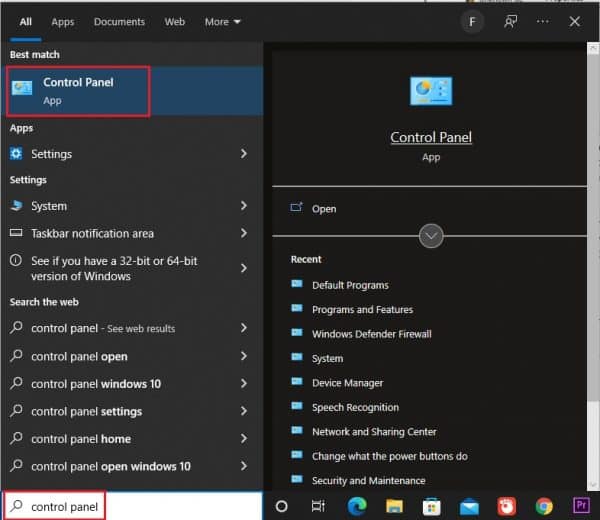
- Type Control Panel in the search bar and open it.

- Type Uninstall a Program in the search bar of the control panel. Click on the appearing option.

- Uninstall everything related to your graphic card.
- Reboot your PC to save changes and download the setup from the manufacturer’s site again.
- Once you are sure that you have removed everything, try installing the Graphic Card Drivers again. The setup should work without any issues, and you will easily fix the “Desktop Icon Keeps Rearranging issue in Windows 10.

6. Update Display Drivers
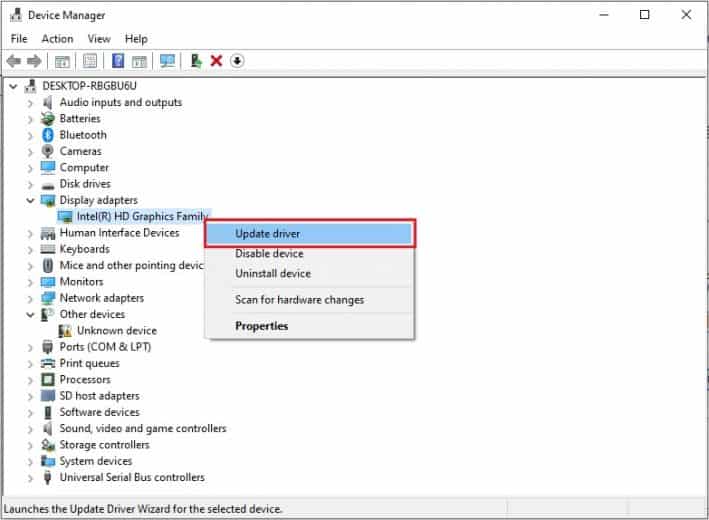
- Press the “Windows +R Key” and type “devmgmt.msc,” and press Enter to open the Device Manager.
- Expand Display Adapters and right-tick on your graphic card and choose “Enable.”
- Once you have done this again, right-tick on your graphic card and choose “update driver software.”

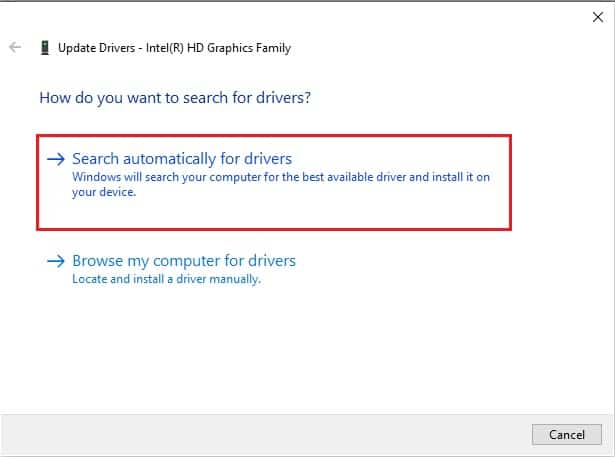
- Choose “Search automatically for updated device driver software” and allow it to finish the process.

- If the above step fixes your issues, then very good; if not, continue.
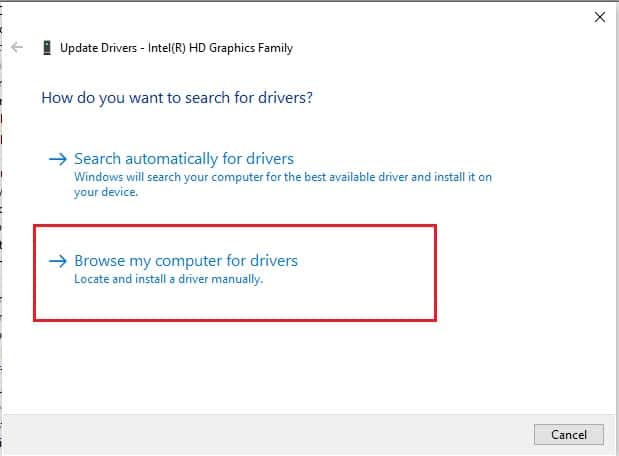
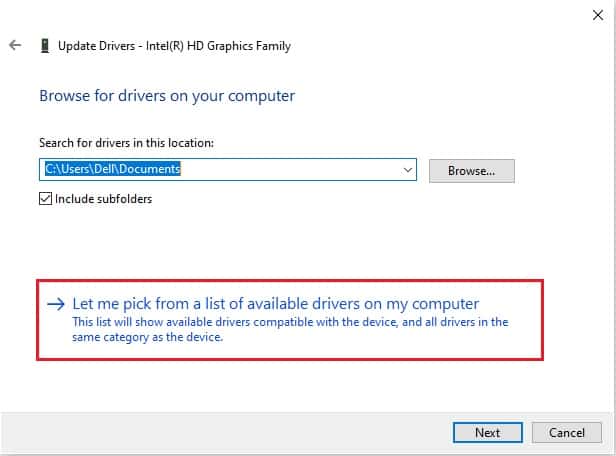
- Again choose “Update Driver Software,” but this time on the next screen. Select “Browse my PC for driver software.”

- Choose “Let me choose from a list of device drivers on my PC.”

- In the end, choose the compatible driver from the list for your graphic card and tick Next.
- Let the above-mentioned process finish and restart your computer to save changes. After updating the graphic card, you may fix “Desktop Icon Keeps Rearranging” in Windows 10.
7. Update DirectX
To resolve this problem, you should always try to update your DirectX. The best possible way to make sure that you have the latest version installed is to download DirectX Runtime Web Installer from the official website of Microsoft.
8. Run DISM and SFC commands
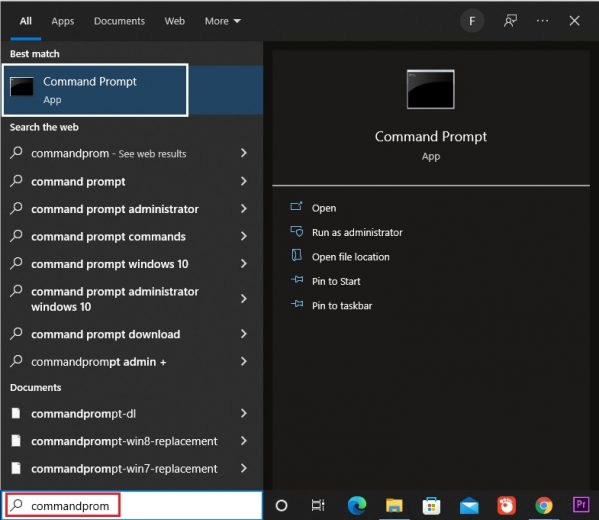
- Type Command Prompt in the search bar of your taskbar and run it.

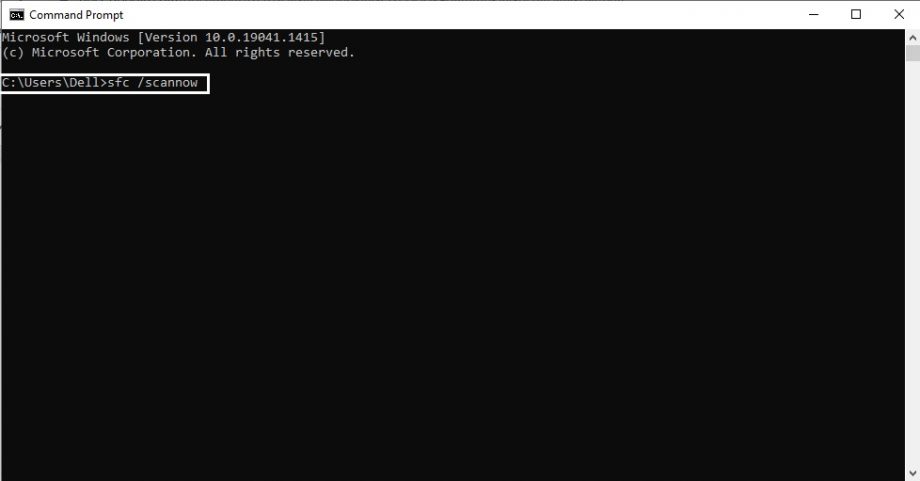
- Type the following below listed command in the CMD and press Enter:
sfc /scannow
sfc / scannow /offbootdir=c:\ /offwindir=c: \windows

- Wait for the method to complete, and once done, restart your computer.
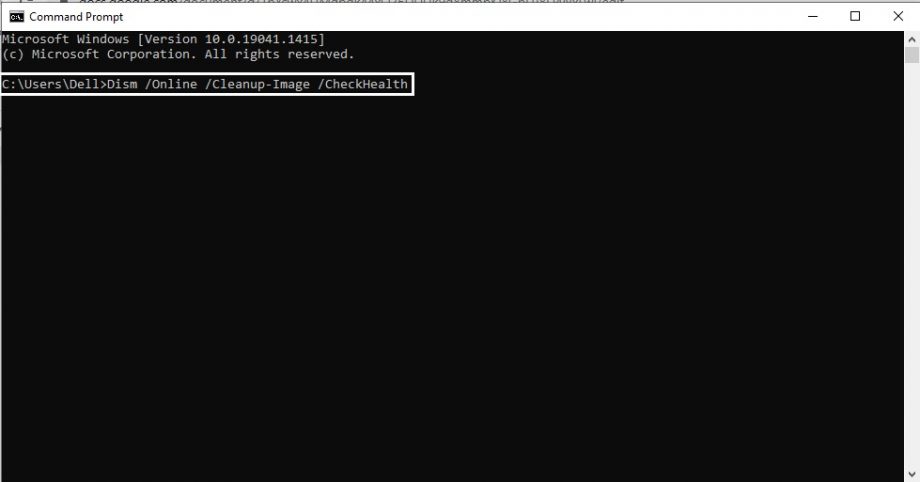
- Type the below mentioned following command in CMD and press Enter after each one:
Dism /Online /Cleanup-Image /CheckHealth
Dism /Online /Cleanup-Image /ScanHealth
Dism /Online /Cleanup-Image /RestoreHealth

- Run the above-mentioned DISM command and wait for it to complete.
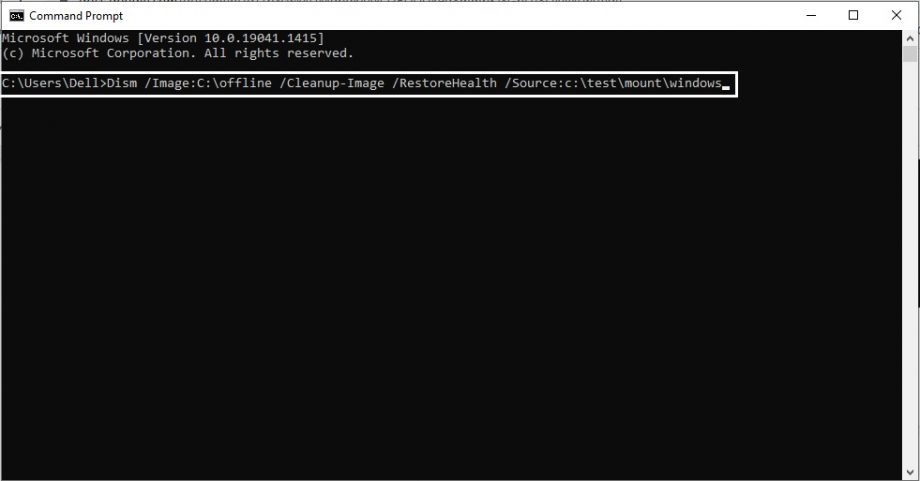
- If the above mentioned command does not work then try the below-mentioned:
Dism /Image:C:\offline /Cleanup-Image /RestoreHealth /Source:c:\test\mount\windows
Dism /Online /Cleanup-Image /RestoreHealth /Source:c:\test\mount\windows /LimitAccess
Note: Replace the C:\repairsource\windows with your Windows Installation or Recovery Disc location.
- Reboot your computer to save changes.
9. Create a new User Account
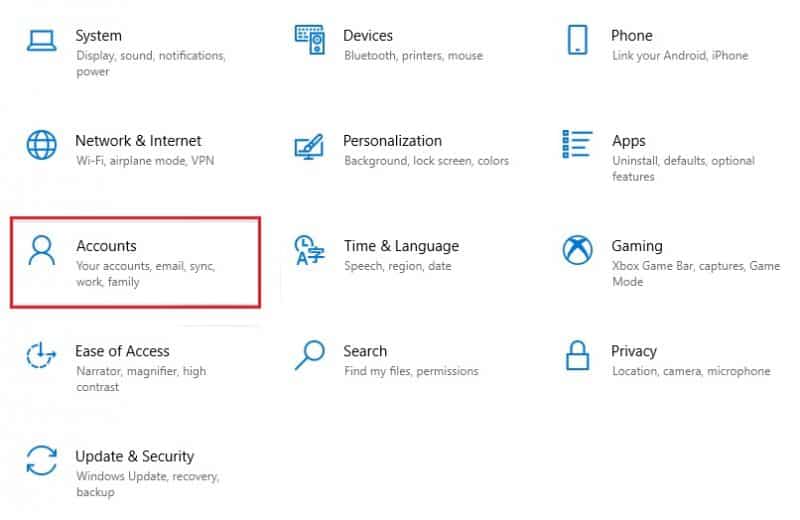
- Press the “Windows + I key” to launch Settings and tick Accounts.

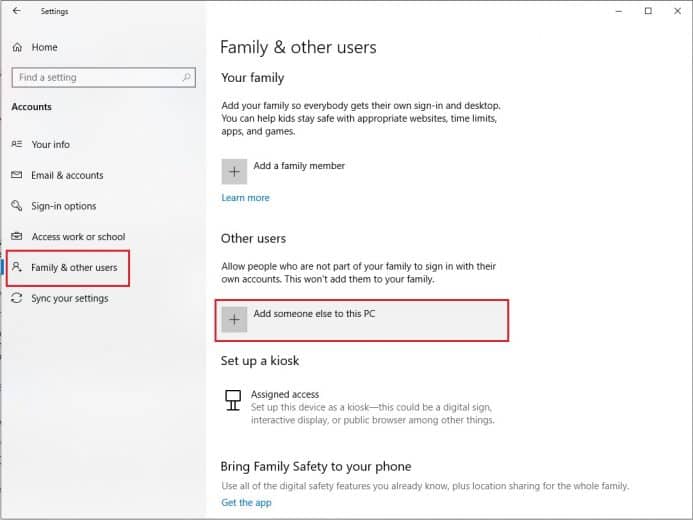
- Tick on the Family & other people tab in the left-side menu and tick Add someone else to this computer under other people.

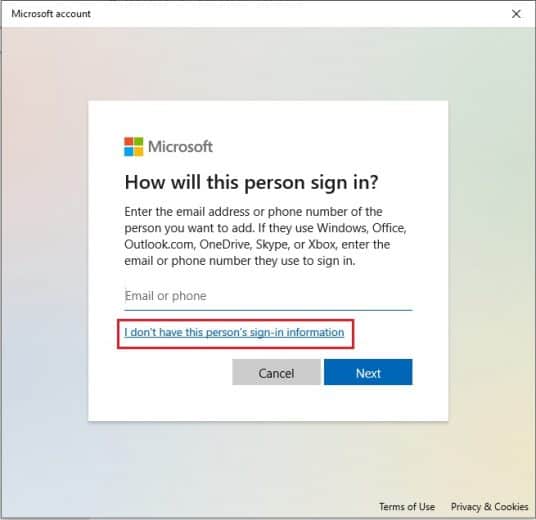
- Tick “I do not have this person’s sign-in information” at the bottom.

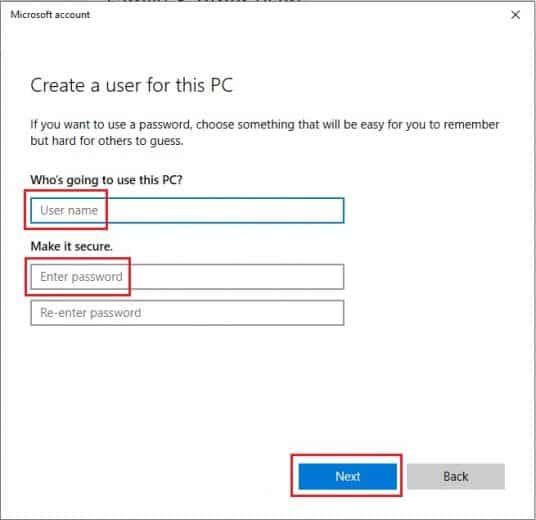
- Choose “Add a user without a Microsoft Account” at the bottom.

- Type the password and username for the new account and tick Next.

Sign in to your new user account and see if you can fix the problem with icons. If you are successfully able to fix the “Desktop Icons keeps Rearranging Themselves Automatically” issue in this new account, then the issue was with your old user account, which might have got corrupted, anyway transfer your data files to this account and delete the old version to complete the transition to this new account.
10. For users using ESET NOD32
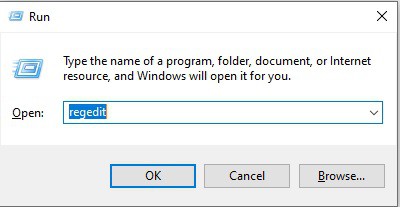
- Press the “Windows + R key,” type regedit, and press Enter to open Registry Editor.
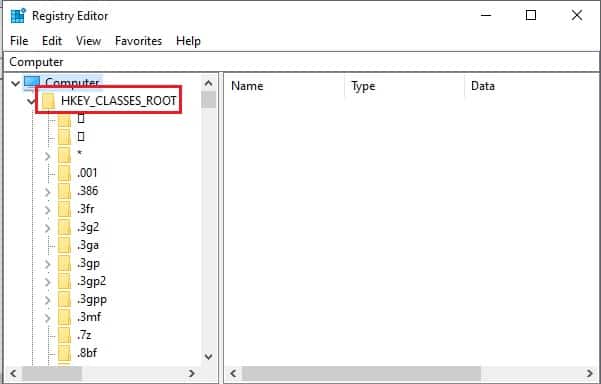
- Go to the following Registry Key:
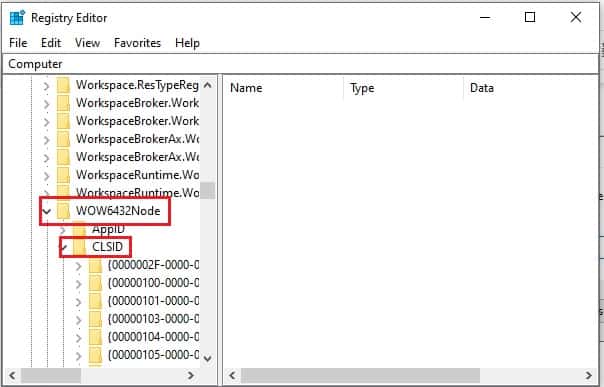
HKEY_CLASSES_ROOT\Wow6432Node\CLSID\{42aedc87-2188-41fd-b9a3-0c966feabec1}\InProcServer32\
HKEY_CLASSES_ROOT\CLSID\{42aedc87-2188-41fd-b9a3-0c966feabec1}\InProcServer32\


- Double-tick on (Default) and replace “%SystemRoot%\SysWow64\shell32.dll” with “%SystemRoot%\system32\windows.storage.dll” in both destinations.
- Reboot your computer to save changes.
11. Uninstall Problematic Programs
Some apps would automatically change screen resolutions, especially when you stumble upon desktop icons that keep rearranging when playing games. Hence, icons on Windows 10 automatically move without control.
In this situation, you can enter safe mode at the very starting and then remove the programs from your computer.
After you know which program results in Windows 10 Desktop icon rearrange themselves automatically, uninstall them in Control Panel.
Navigate to the Control Panel > Programs > Uninstall a Program > Programs and Features >Uninstall.
Restart your computer; when you log in again, observe whether the icons on Windows 10 Desktop have been rearranged.
Restore and Backup positions of desktop icons
You can save a copy of the current positions of your desktop icons as a backup and restore it when they are messed up again. This technique may come in handy, especially if you have a significant number of icons that may take lots of time to rearrange all over again.